Introduction
About Zapier
Zapier allows you to connect various applications and services together, creating automation in your processes.
Check Zapier official websiteAbout Hook.Notifier
Hook.Notifier is a notification collector, it allows you to send, store and organize useful notifications on your phone from various services.
Check Hook.Notifier official websiteObjective
This guide, unlike our many other guides, will not focus on one particular goal, we will detail how to get started with Zapier and connect services to Hook.Notifier. If you're looking for a specific Zapier guide, go to the article dedicated to the service you want, we often add sections dedicated to Zapier.
Zapier vocabulary
From our perspective, Zapier is a relatively easy tool to use, its ergonomics are well thought out, especially for a tool of this kind which can quickly turn into a configuration nightmare for beginners. We'll take a tour of the basics of Zapier that will help you understand how the tool works and set up your first Zaps.
What is a Zap?
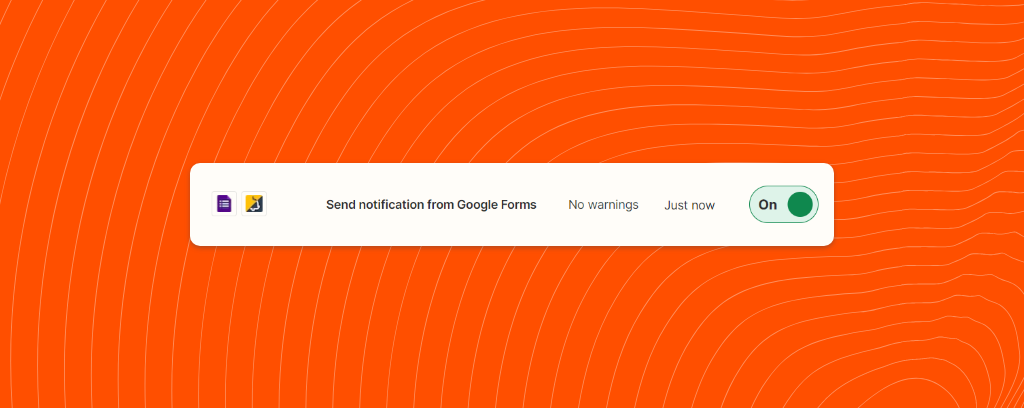
A zap is an automation, a process of connecting applications together. It consists of a trigger and one or more actions. This is the whole principle of Zapier, a zap will allow you to trigger actions in applications according to an event on another. Here are some examples to better understand:
- On Trello, if
Lenore moves a cardinto theTo reviewcolumn thensend an emailto[email protected] - On Appointlet, if a
new appointmentis made then creates anew pagecontaining the user's information onNotion - If Better Uptime confirms a
critical erroron my website thensend a notificationto thewhole teamcontaining the error viaHook.Notifier
What is a Trigger?
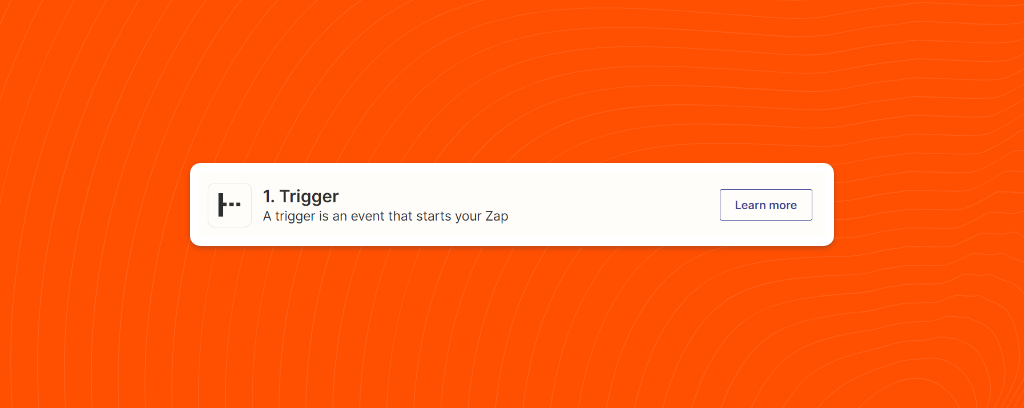
A trigger is the first part of a Zap, it's an event or a trigger. They can take many shapes and an application can have an infinity of them. Here are some examples of triggers:
- When someone fills out a Google Form
- Every day at 4:00pm
- When my MailChimp newsletter was sent
What is an Action?
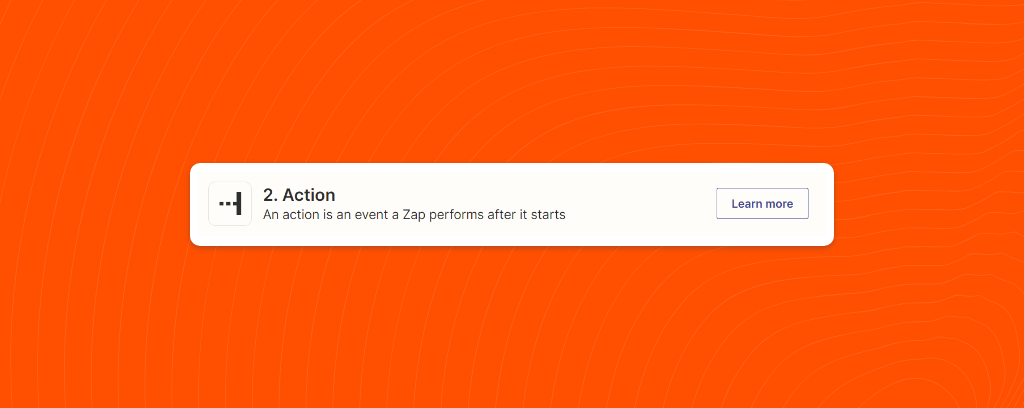
I think you've figured it out, the action is what follows the trigger. These actions will execute things in external applications. Here are some examples:
- Create a card on Trello
- Tweet something with Twitter
- And of course, send a notification with Hook.Notifier
Create a zap with the Hook.Notifier action
In this step by step tutorial, we will create a very simple Zap, its purpose will be to send us a notification on Hook.Notifier every morning at 6am to confirm that the Hook.Notifier Zapier integration is working well.
1. Trigger configuration
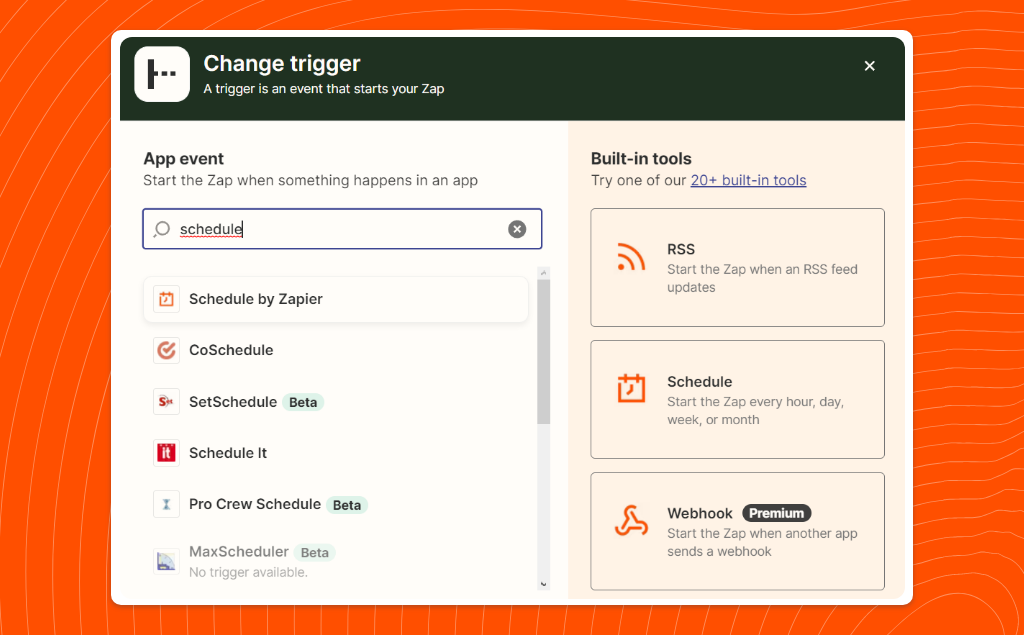
Start by creating your Zap and then click on your trigger. Search for Schedule and select Schedule by Zapier.
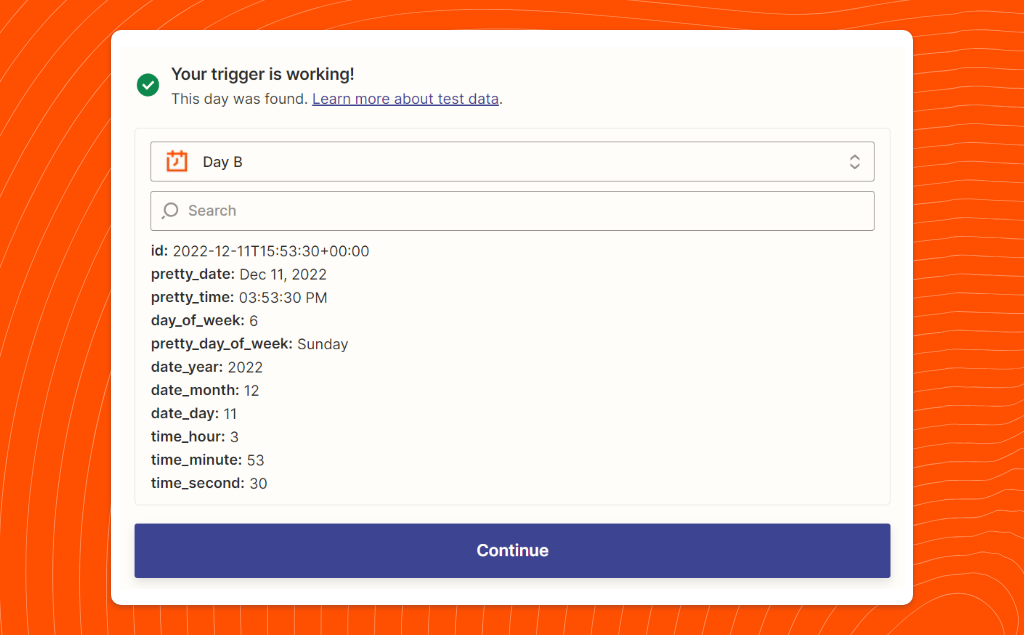
Choisissez la configuration Every day et cliquez sur continuer. Nous choisirons comme Time of day 6am. Cliquez sur continuer et testez votre trigger. Le tester va vous permettre de confirmer que l'intégration est fonctionnelle. Vous devriez avoir comme resultat que votre trigger fonctionne correctement.
2. Hook.Notifier action configuration
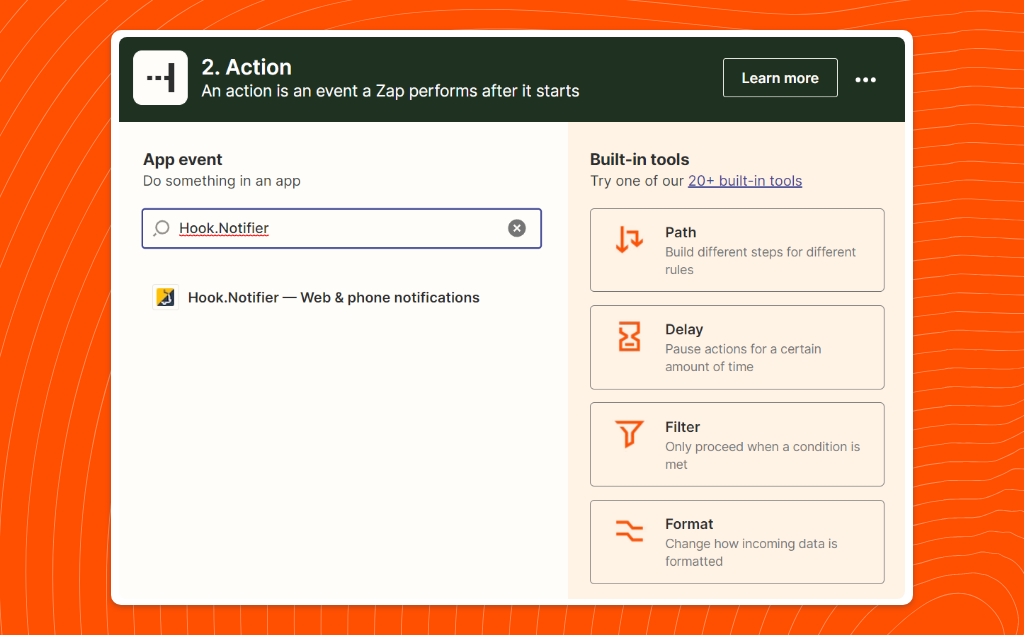
Now that we have our trigger set up correctly, let's move on to the outbound part of Zapier, which is our action to send notifications via Hook.Notifier. Click to add an action, and search for Hook.Notifier in the search bar then click on our official Hook.Notifier integration.
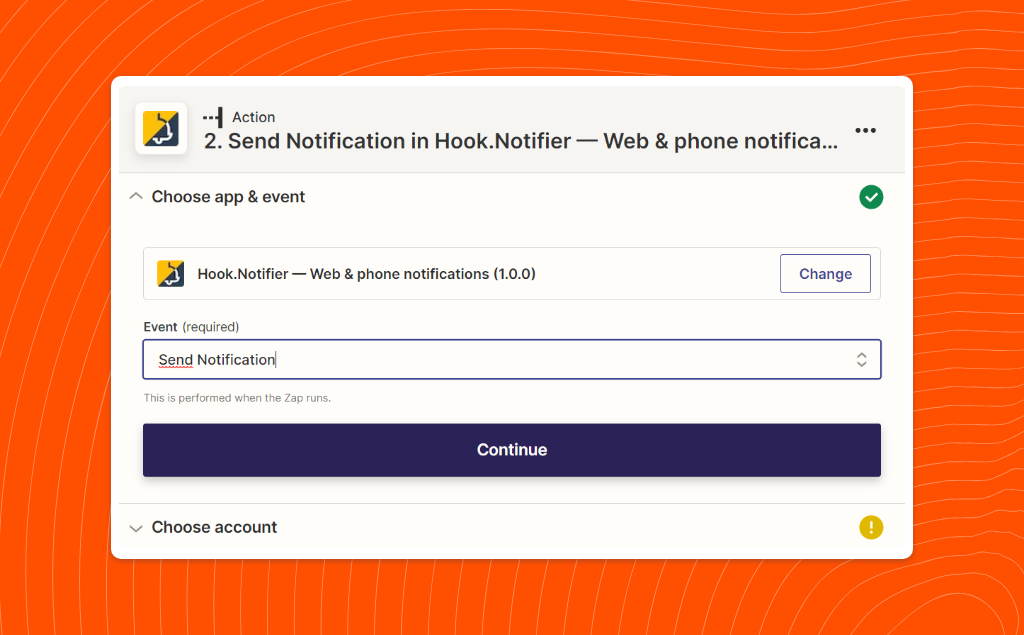
Select the single event "Send Notification" and click continue.
The Hook.Notifier action - like almost all actions - requires an authorization to connect to your Hook.Notifier account in order to send you notifications. As with the other ways of using Hook.Notifier, this authentication is based on your identifiers: %_YOUR_IDENTIFIER_% and %_YOUR_KEY_%. So click on Connect a new account and enter your credentials that you can find in your dashboard or your Hook.Notifier application.
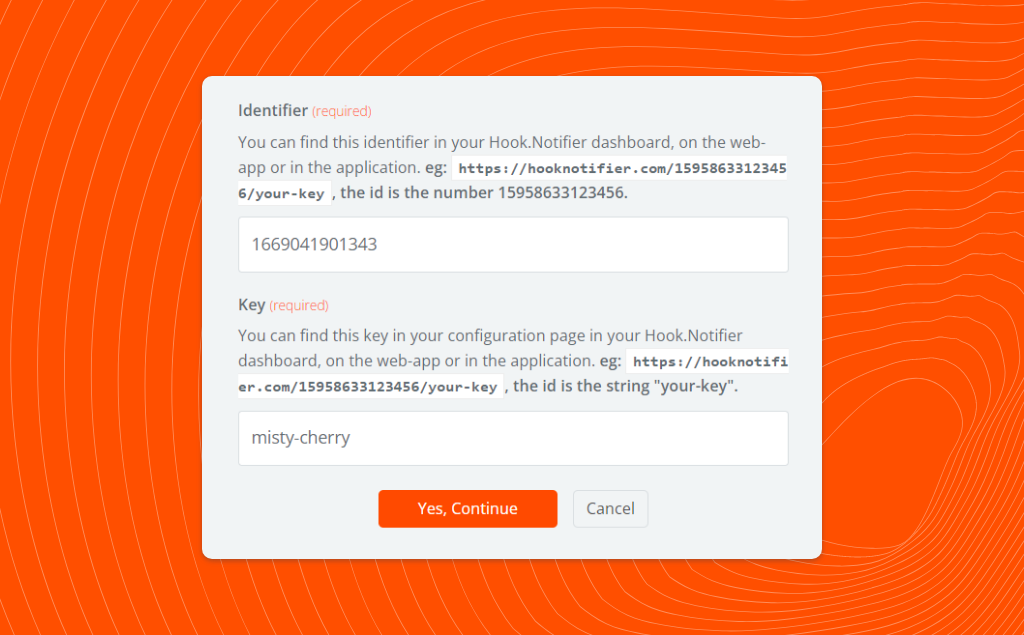
The most interesting part is the configuration of the notification. Each field to fill is detailed directly in the configuration form. We invite you to read, if needed, the Hook.Notifier startup guide to understand more precisely these parameters.

Get started with Hook.Notifier
This article aims to introduce you to Hook.Notifier, including its benefits, recommended introductory articles, and developer documentation.
Here is the configuration we have chosen to receive our notification, you will notice that we have inserted variables from our trigger, this is a very powerful feature that will allow you to customize your notification and make it a very accurate and powerful tool.
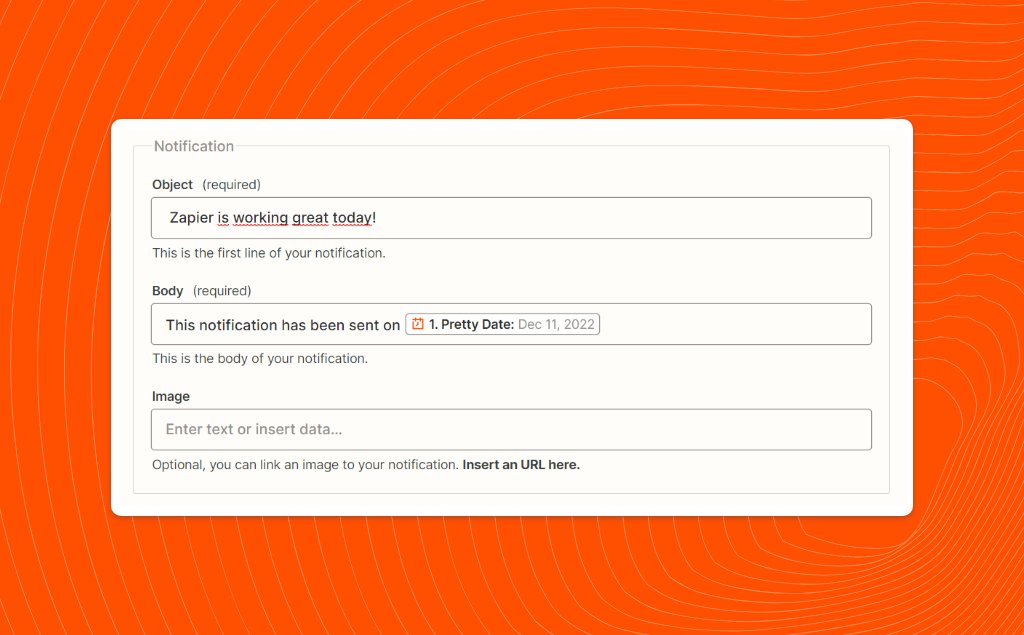
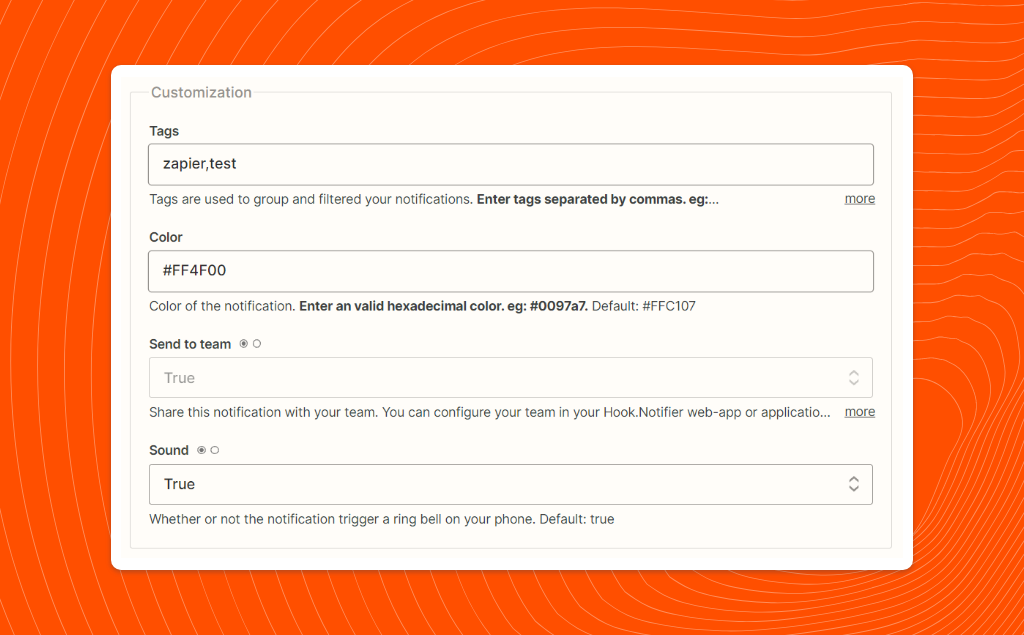
Once configured, you can click on continue. You will be asked to test your notification. We invite you to do so to confirm that your Zap is working. And this should be the case. That's it, your notification has normally arrived!
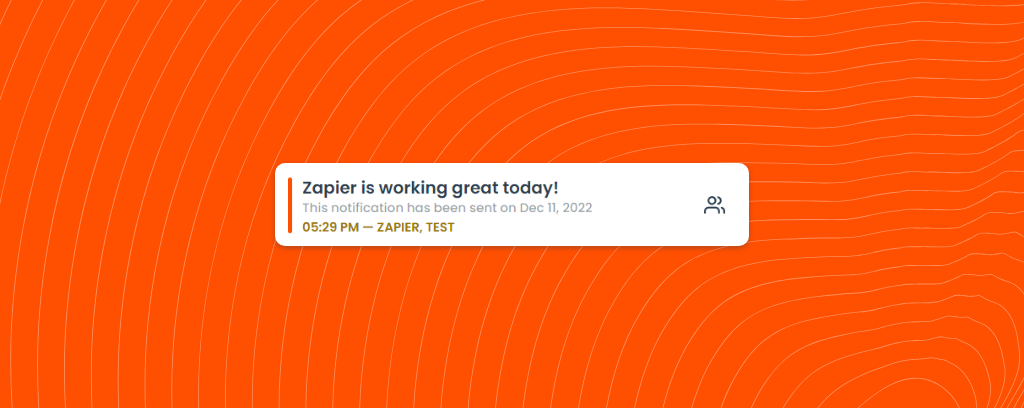
You can now publish your zap and start receiving your daily notifications. Well, we're sure you have more useful things to do than that, but this gives you a good base of knowledge to start mastering these tools that are Zapier and Hook.Notifier.
Conclusion
Zapier is a very complete tool, the possibilities are endless. Now that you have mastered the basics of this tool, we would be very curious to know what you are up to! Don't hesitate to tell us about it and ask us for help if you need it!

If you like this article, feel free to connect with us on Twitter.
If you have any questions or special requests, such as needing clarification on the terms discussed in this article, more information on a specific part, or additional articles and tutorials, please feel free to provide feedback through the widget below.

