Introduction
About HubSpot
Hubspot is a comprehensive software platform that includes tools for marketing, sales, and customer service. It offers features such as lead generation, email marketing, analytics, and CRM, and is designed to help businesses of all sizes grow and manage their customer base effectively.
Check HubSpot official websiteAbout Hook.Notifier
Hook.Notifier is a notification collector, it allows you to send, store and organize useful notifications on your phone from various services.
Check Hook.Notifier official websiteReceive notifications from HubSpot
Objective
The tool being so huge, the possibilities with HubSpot are almost unlimited. In this guide we will work on sending a notification when a user finishes filling out a HubSpot form. Of course, this guide is just a rail to guide you, feel free to take liberties.
HubSpot workflows, the perfect tool to interact with Hook.Notifier
Workflows are a set of tools that allow you to trigger automations based on events taking place on HubSpot, such as when a user performs a conversion, a form is submitted or someone interacts with an ad.
All or part of this guide may be subject to a HubSpot pay-as-you-go plan, so feel free to inquire as to your needs.
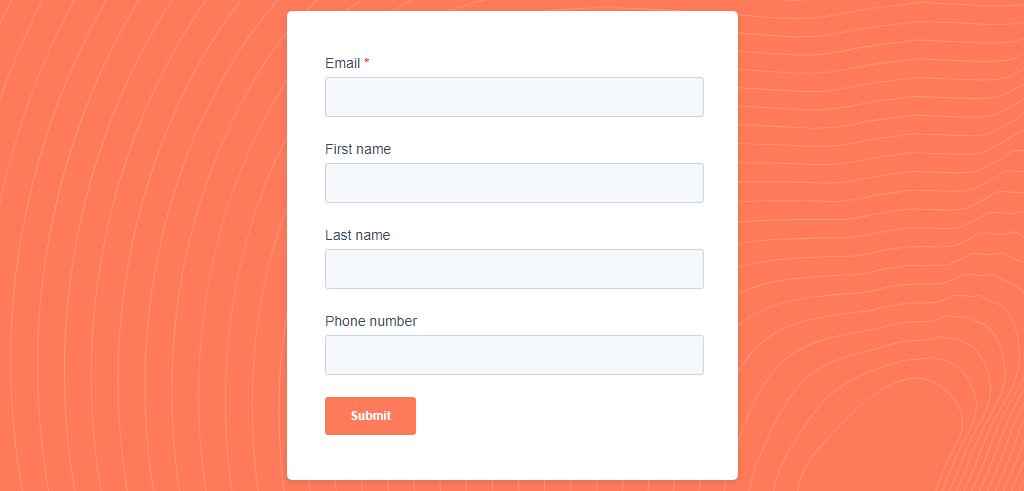
1. Creation of the form
We have created a simple contact form, any type of form would be fine.
2. Creation of the workflow trigger
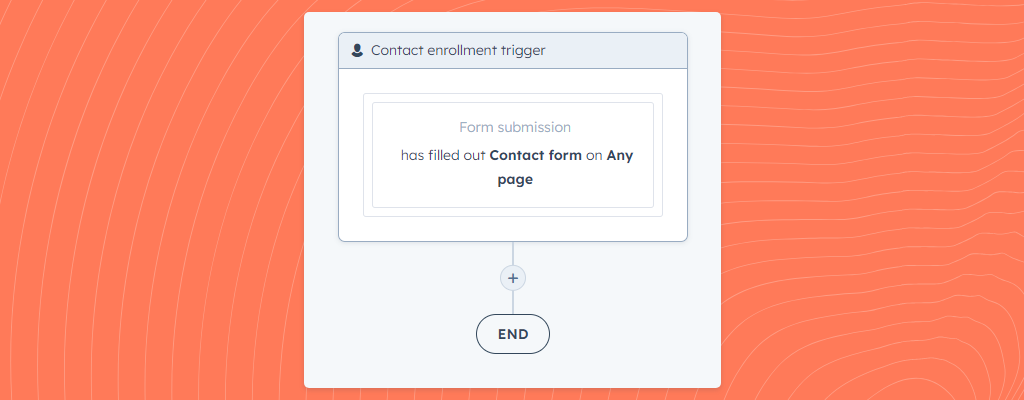
Go to the Automation > Workflows menu and create a workflow from scratch. In our case we start with an empty template from the Contact enrollment type because we want to receive a notification when a user fills our form.
Click on Set up triggers, all kinds of triggers appear, in our case we choose Form submissions then we select our form.
Finally HubSpot wants to know if we should trigger on all pages or on specific pages depending on where you put your form. We will choose all pages to simplify the process.
So we have our trigger! Rather simple, but effective, we do not dwell on all the options, because HubSpot is not stingy. Be curious!
3. Sending the notification with the Hook.Notifier webhook
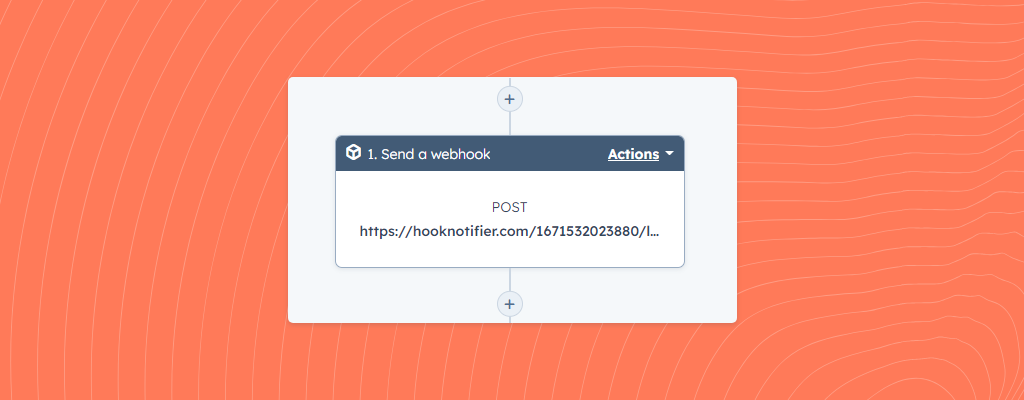
Add a step to your workflow by clicking on the +, select Send a webhook and the POST method.
Let's move on to your webhook, you can prepare your url with our pre-composer, just click on the button below, create your notification and copy the pre-composed link to paste it in the Webhook URL field.
Do not select authentication.
Regarding the request body, you can choose to integrate all the data in your notification or customize it. HubSpot is very, very, very talkative about data, we advise you to customize the fields integrated in the notification body or to add the preventData parameter to your configuration.
New to Hook.Notifier? We recommend you to read our article “Get started”.

Get started with Hook.Notifier
This article aims to introduce you to Hook.Notifier, including its benefits, recommended introductory articles, and developer documentation.
4. Test and activation
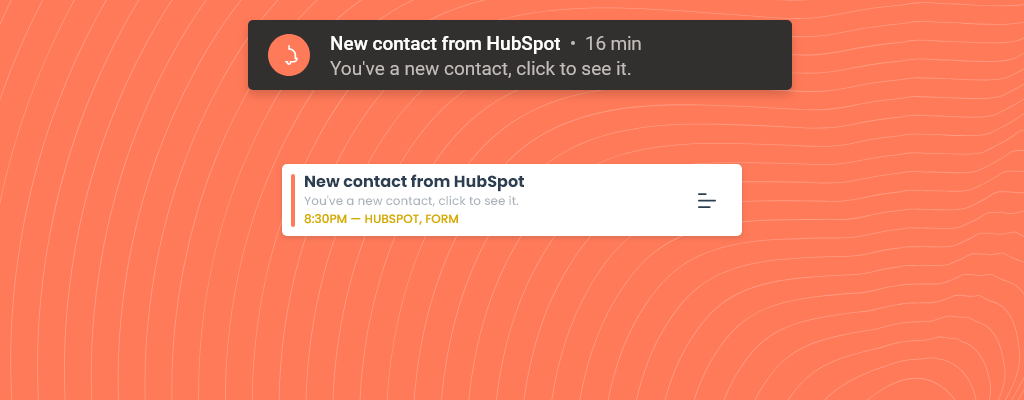
Once configured, all you have to do is test. Select a test contact and click Test, you should have received your notification, congratulations! Save your webhook and that's it, you now have a working workflow with HubSpot and Hook.Notifier.
Zapier to the rescue
Everything we've seen above can be done more easily with Zapier. However, depending on your usage, a paid account with Zapier may be required.
We won't go into all the integration parameters. Please refer directly to the article about Zapier to know everything about Zapier and Hook.Notifier.

Receive push notifications on your phone from Zapier
Zapier is Hook.Notifier's best ally, an amazing way to receive notifications from thousands of services without having to write a single line of code. It's accessible, user-friendly and the possibilities are endless.
Conclusion
You should now be able to manage to receive notifications from HubSpot, many uses are possible, feel free to test and let the magic happen!

If you like this article, feel free to connect with us on Twitter.
If you have any questions or special requests, such as needing clarification on the terms discussed in this article, more information on a specific part, or additional articles and tutorials, please feel free to provide feedback through the widget below.
